Today I have this tutorial for you.
With photos I will show you, step by step, how I created this glass bottle.
I started this project by glueing kitchen paper towel to the bottle with the gel medium.
Didn't want to cover the whole bottle with the paper so I only covered the side and top.
Covered the rest of the bottle with gesso.
A simple kitchen sponge works perfectly and gives a nice and even layer.
All covered with gesso.
Wanted to add another texture.
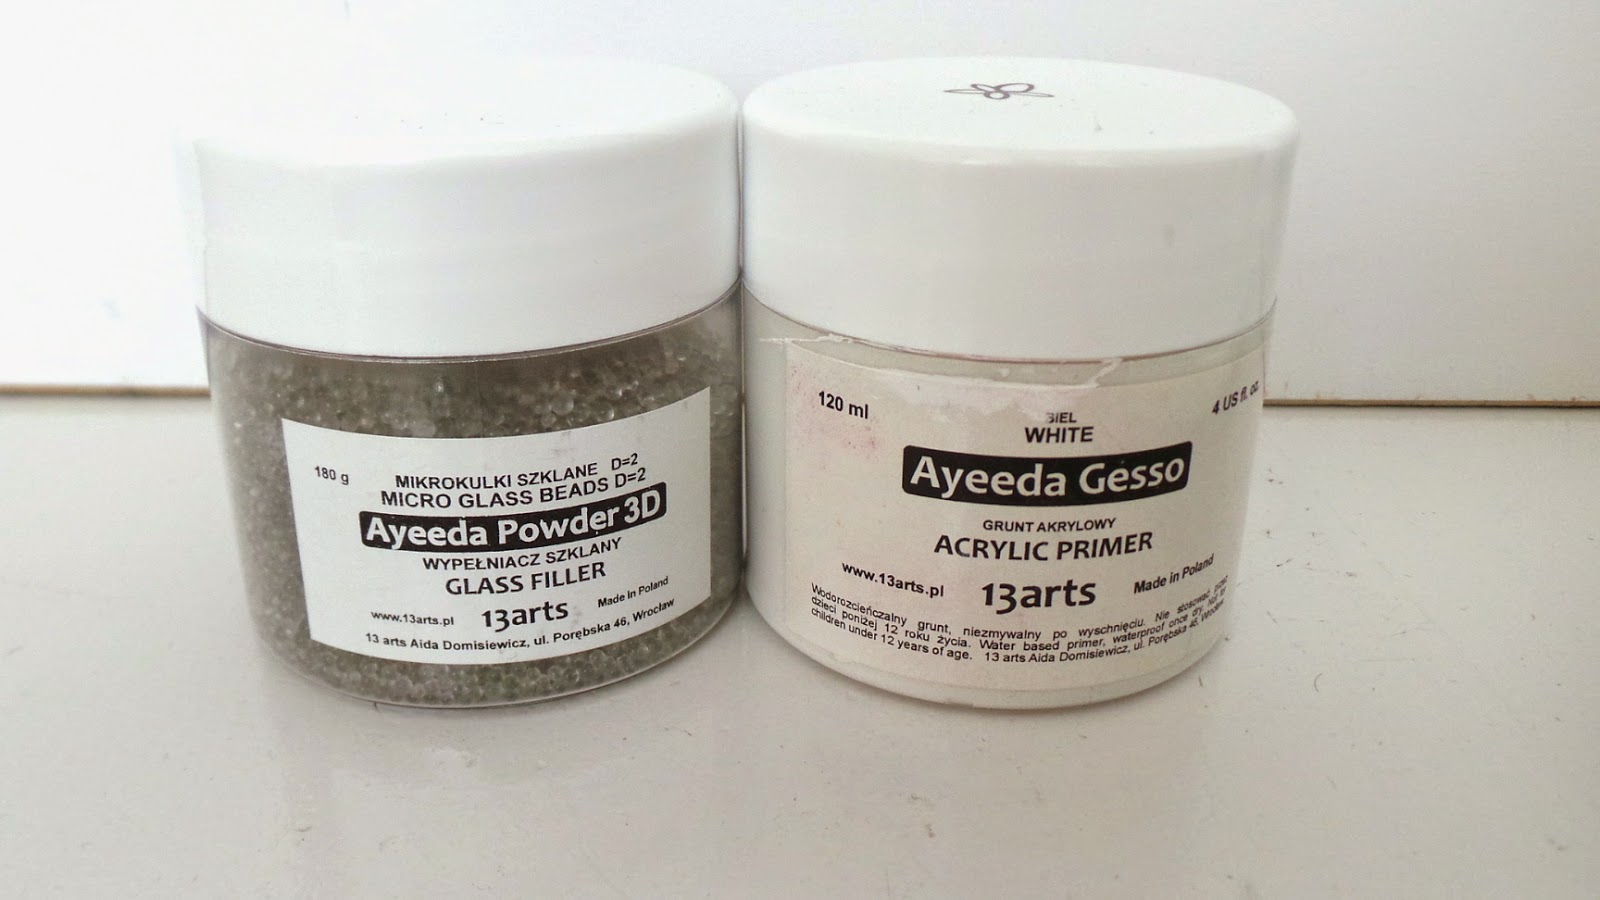
Mixed some gesso and glass filler.
Added the gesso and glass filler on some places.
All done and waiting for some paints! :)
I added the paints directly from the bottle with the nozzle.
Let the colors run. If you want it to run some more just spray some water on the paint.
Just love the texture of the paper towel!
Also painting the top.
All ready!
Thought it didn't need much more embellishments
so I only added the tulle flower and the twigs, also in the 13 arts store.
And here are some details:
Hope you all liked this tutorial and got inspired!
13 arts products used:
Enjoy your day!
Ingrid xxx


What a lovely transformation!The altered bottle looks beautiful...Thanks for the tutorial!
ReplyDeleteIts Beautiful ! loved the idea to add texture partly and pretty colors.Thanks for the pictorial :)
ReplyDeleteBeautiful Ingrid. As soon as the blog opened and I saw this I knew it had to be yours. Just lovely.
ReplyDeleteColored Mica Powder U-Makeitup is specialist retail and wholesale supplier of all the ingredients needed to make your own natural mineral cosmetic and the largest supplier of cosmetic colored mica in Europe. Our cosmetic grade pigments, colored mica and micro fine glitters are also ideal of use in sops, balms, skincare lotions, creams, bath bombs etc.
ReplyDelete