Showing posts with label 13artslayout. Show all posts

Wednesday, 23 December 2020

Сozy winter. Layout and video tutorial by Anna Maslennikova

Hello my creative friends!
 Today Anya is with you, and I share my Christmas inspiration - a winter layout.


Christmas is about to come, and something magical will certainly happen, a miracle will enter every home. I wish each of you to remember your childhood expectations from this fabulous time of the year. Merry Christmas, dear friends!


I used:

Video tutorial:

See you next year;)))


Tuesday, 13 October 2020

Italia - layout by Aida with Bella collection

 Dzień dobry, tegoroczne wakacje były inne niż wszystkie, ale cieszę się, że pomimo trudności udało nam się spędzić rodzinnie czas i zwiedzić co nieco pięknej Italii. Nie ma lepszej kolekcji do oprawy wspomnień z Włoch niż Bella :) Podoba mi się w niej też to, że łatwo można połączyć ją z innymi kolorami i dodatkami. Tutaj czerwone suszone kwiaty idealnie pasują do kolorów ze zdjęcia.

Good morning, holidays this year were totally different and all the plans have changed. But I am happy that in spite of everything we have managed to spend our family time and visit beautiful Italy. And there is no better collection to frame your Italian photos than Bella :) I love it also because it os easy to mix the papers with other colors and adornments. Here I have added red dried flowers to match my photo. 

Italia 


13 arts products I have used:


xoxo


Friday, 4 September 2020

Remember Dreamland by Agnieszka Bellaidea


Witam wszystkich bardzo serdecznie i od razu dziele sie wspaniala wiadomoscia, kolejne kolekcja z czterech nowych w naszym sklepie jest juz dostepna i ....wspaniale sie z nia pracuje.

Zawiera wiele zimowych czy nawet swiatecznych elementow ale jak widzicie swietnie dogaduje sie rowniez z wakacyjnymi zdjeciami.


Tradycyjie w ramach kolecji mamy nie tylko papiery ale tez cudowne folie, maski i stemple. 


W wycinaniu drobych elementow czy nawet folii bardzo przydatne sa male nozyczki TH , dostepne rowniez w sklepie


Ephemera z tej kolekcji jest naprawde urocza ale ucieszyl mnie fakt iz do papierow pasuja tez elementy z poprzednich kolecji, stylowo i kolorystycznie wiec jesli zostaly Wam drobne elementy  z Victoriany czy Unforgatable to bedzie okazja aby je wykorzystac do konca.


13arts products:

Zestaw papierów DREAMLAND 12x12"


Dziekuje za zainteresowanie i odwiedziny
Agnieszka Bellaidea


Thursday, 3 September 2020

Keep dreaming - layout by Aida

Today I bring you a layout with brand new Dreamland collection. It is a very simple layout made mostly with fussy cut elements from paper set. I also used Abstract flowers stencil and watercolor paint. Let's keep dreaming :)

Witajcie, dziś chciałabym pokazać Wam layout z najnowszej kolekcji Dreamland. Jest on w sumie bardzo prosty, Warstwy to przede wszystkim wycięte elementy z kolekcji, użyłam także maski Abstract flowers i farby z zestawu akwareli. 


I just adore the color combination - bottle green and beige, I hope you like this palette too.

Uwielbiam połączenie butelkowej zieleni i beżu, mam nadzieję, że i Wam ten zestaw kolorystyczny przypadnie do gustu:)


I used:


Mediums:

xoxo

Aida


Wednesday, 26 August 2020

End of Summer - Layout by Aida

 Hello everyone, it has been a while since I had time to create, so I am thrilled to be back to crafting and making layouts again. As you may know, I have designed 4 new collections and they have just been released. One of them is called "End of Summer", and that was the one I have chosen for my first creations. Today I want to share a layout with you, with some rusty and blue tones. The texture is made with "Summer flowers"stencil and Color glow Golden Calcite mixed with gel medium - perfect shade for this collection:) 

Witajcie kochani, ostatnio ciężko mi było znaleźć czas na tworzenie, a to za sprawą kolekcji które tworzyłam dla Was i które właśnie ostatnio ujrzały światło dzienne :)  Ukazały się cztery nowe kolekcje, a jedną z nich jest End of Summer, na której powstał ten layout. Cudownie jest wrócić do biurka i w końcu móc tworzyć. Tekstura na tle jest wykonane głównie za pomocą maski z tej kolekcji "Summer flowers" oraz zmieszanej farbki w proszku Color Glow i Gel medium. Odcień Golden Calcite jest wprost idealny do tej kolekcji:) 


Products I used:
Mediums:

Happy creating with new collections!

I can't wait to see what you will create with them :)

xoxo

Aida


Tuesday, 25 August 2020

Scrapbook layout by Heike`s AugenBlick

Hello my dear blog reader, 

Heike here from Heike`s AugenBlick, designer for 13@rts.

Not only that I am your challenge host for the month of August
(I hope you saw my mood board and find the time to take part in the August challenge).
The challenge can be found on the right side from the 13@rts blog page.
But anyway:
I am here today to inspire you to create with the wonderful products of 13@rts.
I created a scrapbook layout in mixed media style.
Here is a short description about my creative process.

As always I started with adding two layers of clear gesso on both sites of my paper sheet.
After my clear gesso was dry, I started with adding texture and color.
Therefore I mixed color glow with multipurpose gel medium
and I added the mix to a stencil from 13@rts. After that I repeated
this step with  another color from color glow. I let the whole thing air dry.
In the mean time I painted my title (cardstock-words) with yellow watercolor, cut a sheet of  the Rosalie
collection with my big shot and a DIE from Tim Holtz and I painted die cut element  also with yellow watercolor.
After my texture was dry I added paint. First black gesso on the edges. Watercolor and a mix of color glow with acrylic-medium. The next step was stamping. After that I added gold glitter with the plallet-
knife to my background. I glued my focal point, embellishments / flowers, and than I added again texture but this time a mix of gel medium and 3D flakes, sequin and diamond-dust.
Finale touch splattering and scibbeling.

My photo which I used for this scrapbook layout is from:
Sacha Goldberger, born in 1968, he is a  French photographer and writer.

Paint your life...


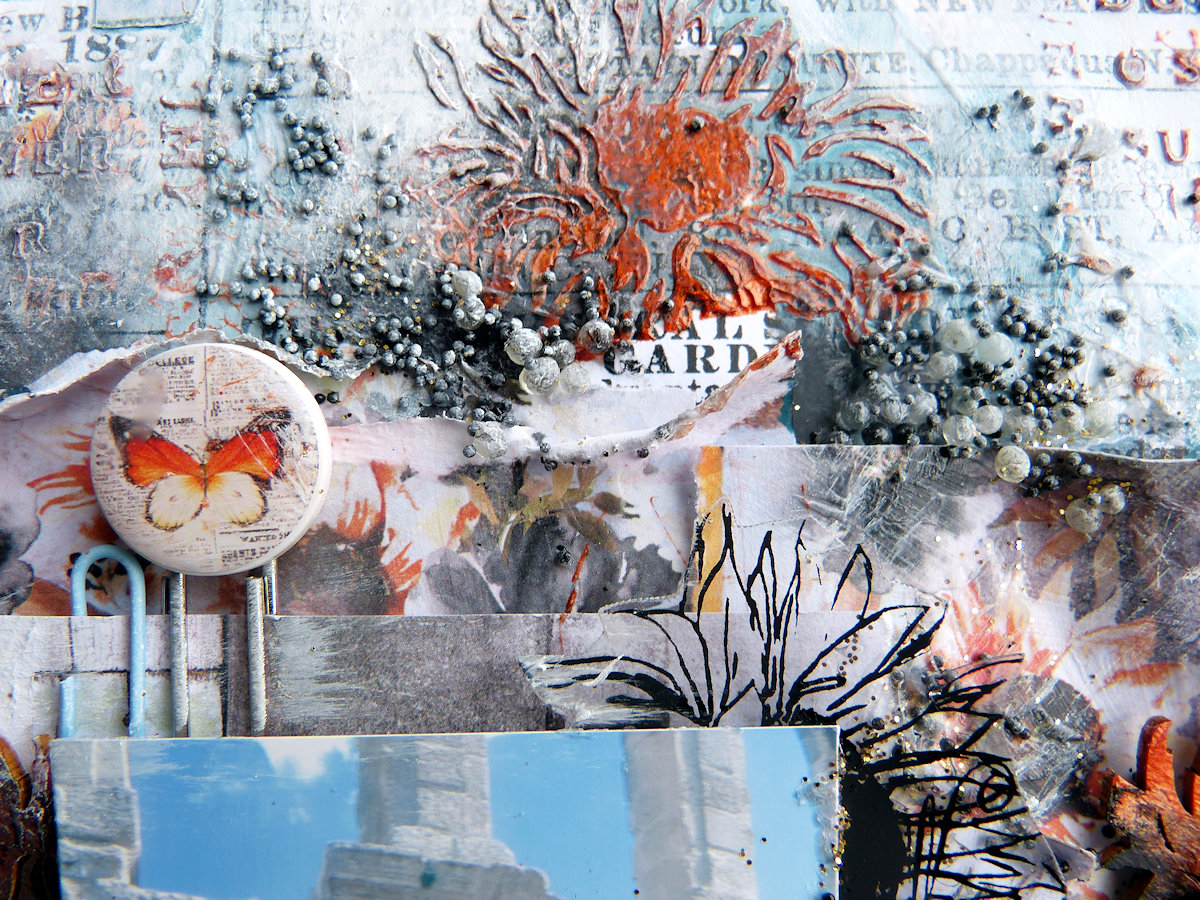
closer look.


I used from 13@rts:

Paper pad 12x12 inch: VICTORIANA
Paper pad 6x6 inch: ROSALIE
Paper sheet 12x12 inch: Victorian-roses-Victoriana
Chipboard: Victoriana
Embellishments: Victoriana-Ephemera-pack
Transparency: DOILIES
Mediums:
Gesso clear: Gesso-Clear
Gesso black: Gesso 500-ml
Gel medium: Gel-medium-500-ml
Multipurpose gel medium: /MULTIPURPOSE-MEDIUM-500ml
Acrylic medium: Acrylic-Medium
Colors:
Watercolor: Watercolor-set-16 colors
Color glow: Coral-Red
Color glow: Fire-Opal
Color glow: Ruby
Color glow: Citrine
Rainbow color: Scarlet
Ayeeda paint: VIVID-Magenta
3D Texture:
Gold glitter: Gold
Acrylic Ink: Glitter-Old-Gold
Pink Flakes: Pink
Stencil: PIANO
Stencil: diamonds
Flowers:

Here is the link to 13@rts: http://13arts.pl/

I would like to thank you for stopping by today.
If you have question about my post, please feel free to ask
in the comment box below.

I would also like to point out that 13@rts has an open Facebook group,
where you can show your project.
Here is the link: facebook.
Have a beautiful day.
xoxo

Monday, 24 August 2020

Sunrise and You are my sunshine by Agnieszka Bellaidea


Good Morning ! 

It's time for a Sunrise!

What a lovely collection!

I am in love with colors, design and all elements from this collection. Just have a look at 13arts  shop to make sure you will not miss anything.


If you are a butterlies fun this collection will make you very happy!

Feathers are neede? Sunrise has it too!

SUNRISE Ephemera pack!

This is a must for sure.


I don't envy if you plan to select only one or two masks from this collection. Some have butterflies, other flowers and feathers...


13arts products:

Friday, 10 July 2020

Happy Day Scrapbook page by Heike`s AugenBlick

Hello everyone 

and welcome to my blog post here on the blog from 13arts.
My name is Heike from Heike`s AugenBlick and I am your host for today.


For this layout I decided to work with a photo of myself. The photo was taken after my first hairdresser visit after the lockdown. I have the luck that I have been wearing my hair for about eight years now in a short grey haircut. I must say I am a big fan of short hair. 
But anyway, I will tell you a little bit about my creative steps:
After I chose my paper sheet "This moment" from the paper collection "Travel the world",
I added clear gesso to my page. I always work with two layers of clear gesso.
The clear gesso ensures that no liquid is absorbed by the paper anymore.
A perfect layer between paper and mediums. 
Then I decided to add another paper sheet to my background paper, but this time I torned it.
This paper became also two layers of clear gesso. I glued my torn paper with gel medium to my background paper.
After I found the perfect position for my photo (focal point) I have searched everything together which I used for my decoration (embellishments). The next step was creating texture 
on my background. Therefore I used the stencil Horiscope and a mix from modeling paste and 3D powder. I sprinkeled some colored grit in the wet paste. I like to air dry my mix, I think the paste looks smoother. 
For my flower chipboards I used the mini watercolorset "Travel the word" and clear ultra thick embossing powder. 
For my seahorse chipboard I used multipurpose medium and brokant hologram blue.
For the shells and explore word chipboard I used black gesso 

After my modeling was dry I stamped with black Archival Ink.
Now it was time for my paper layering behind my photo which I glued with multipurpose medium.
My next step was coloring with the mini watercolorset and the woodbine spray. After drying with the 
Heat tool, I glued my focal point and embellishments. 
The final touch gold glitter paint and sequin in turquoise, also white pen strips to some of the black splatters.
Done.

Happy day...

A closer look to my scrapbook page.


Thank you so much for visiting my blog post today.
I hope you feel a little bit inspired to create with the beautiful products of 13@rts.

As so please show us your end result on our social media page.
Here is the link to Facebook 13@rts ARTelier: facebook.


xoxo
Heike

Wednesday, 24 June 2020

Steampunk layout - Yulya Chorna

Hello creative friends! 

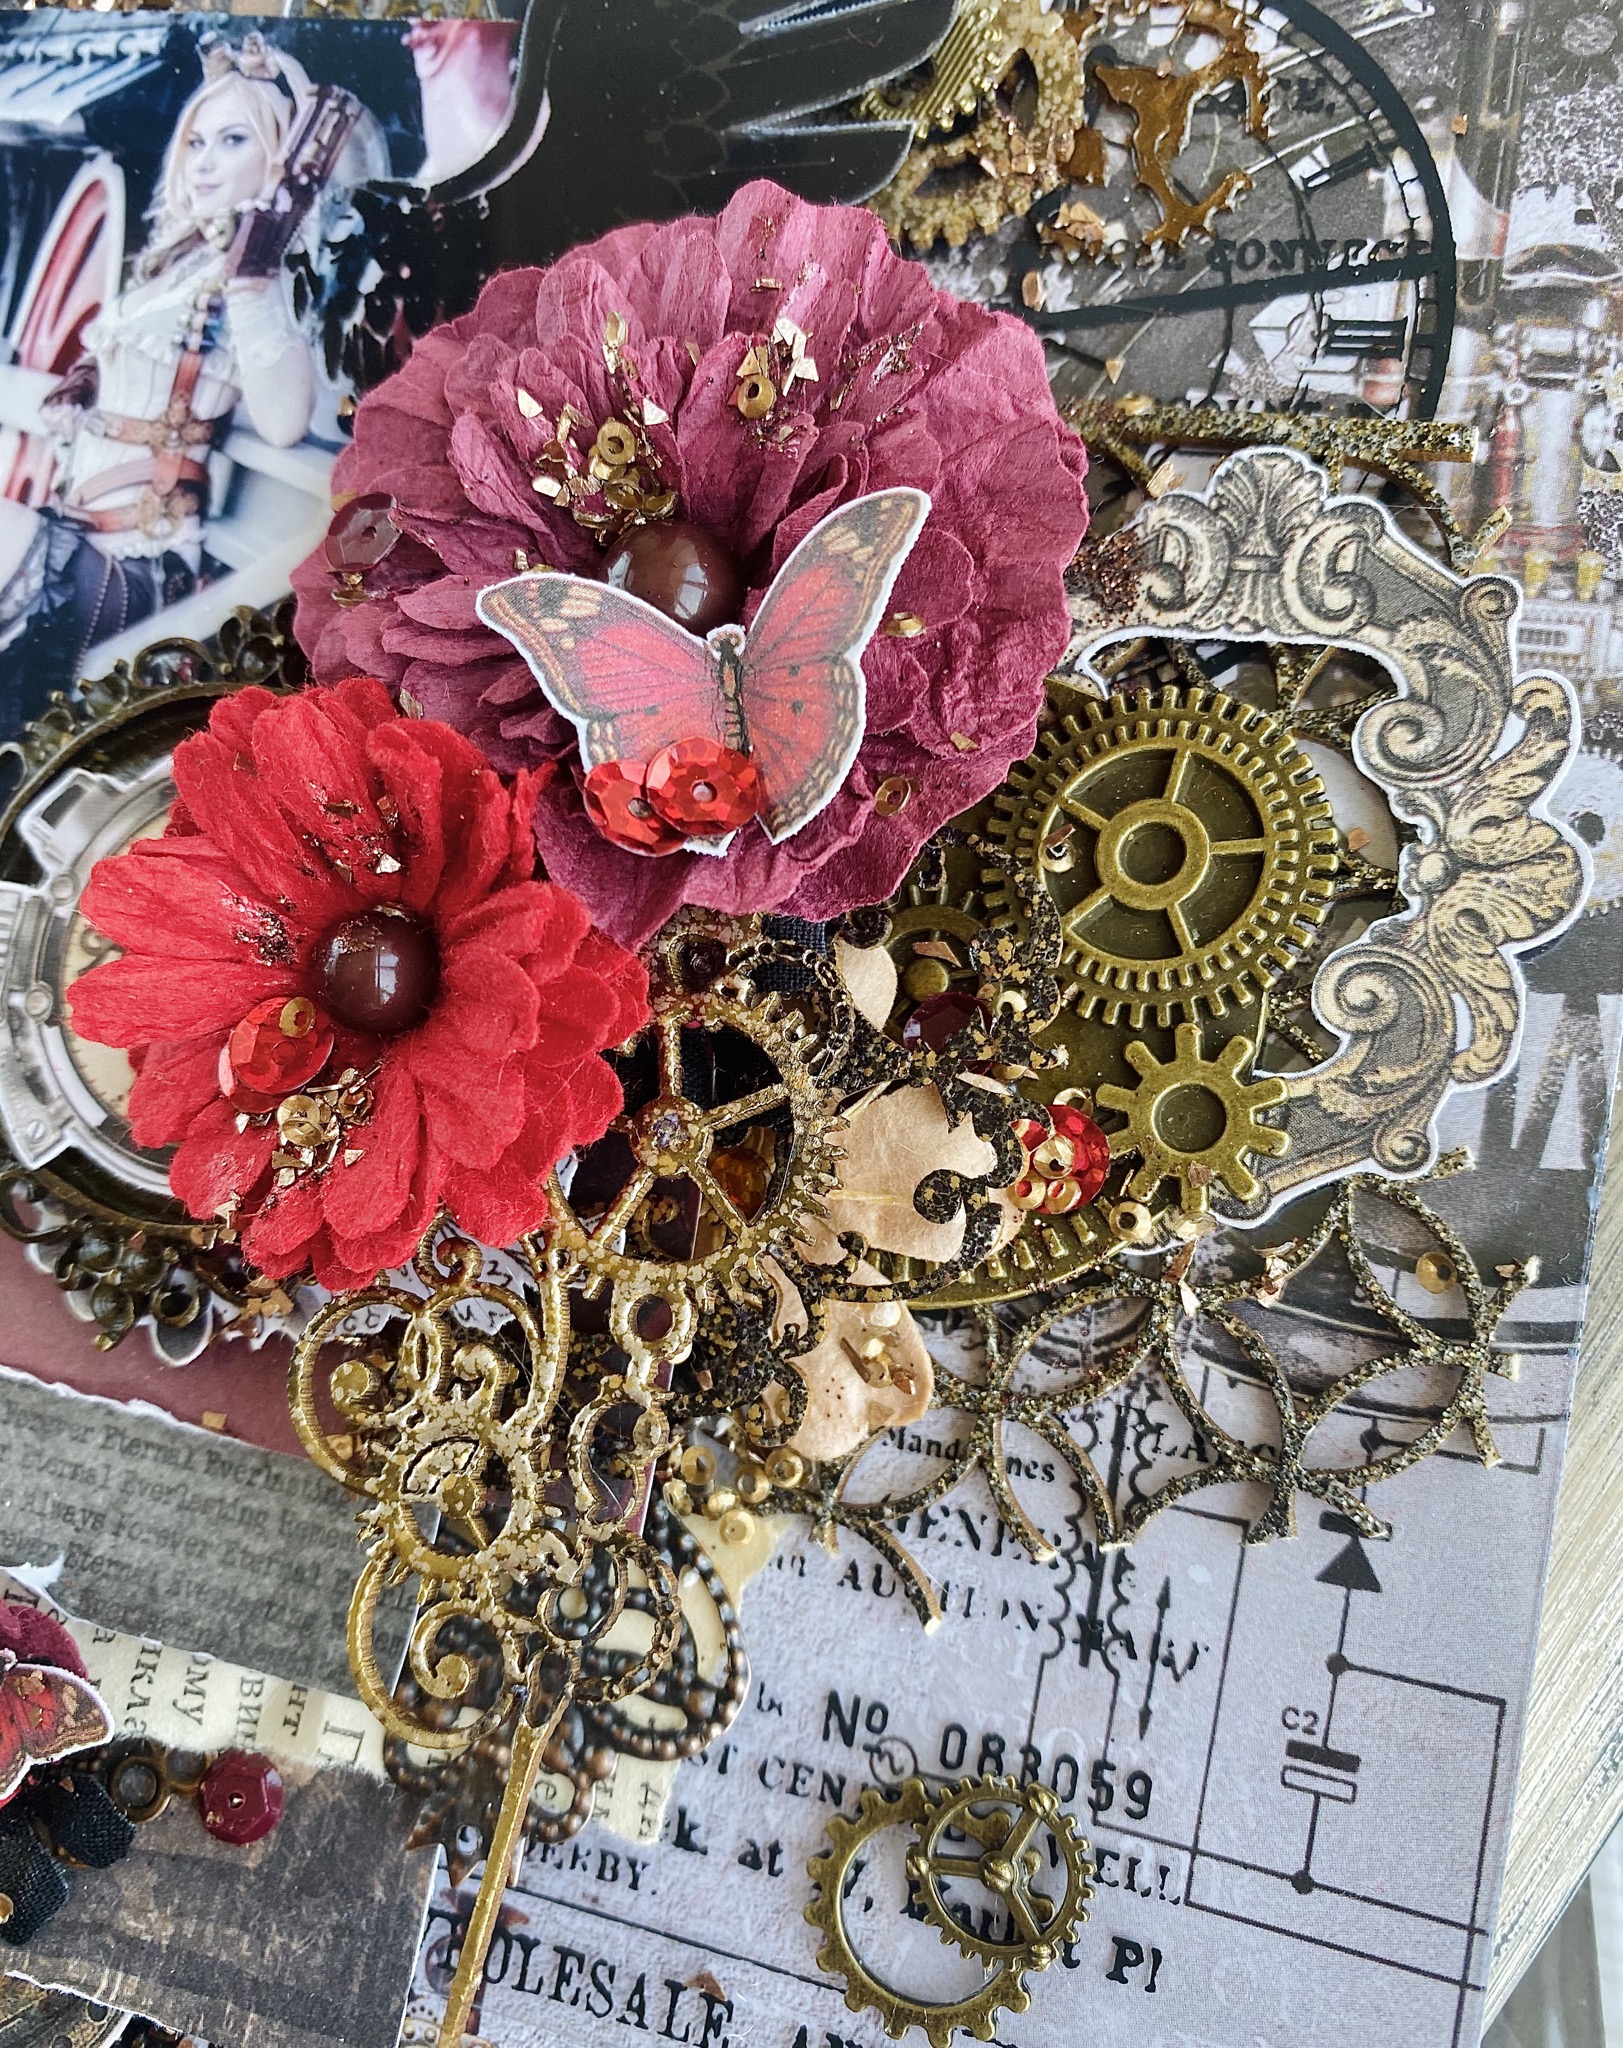
Lately I liked using different metallic elements in my artworks. As a result, this time I’ve made the layout in steampunk style :)

For this layout I’ve used 13arts collection Victoriana, pieces of paper from Unforgettable Transparent printed foils and other elements. 

 I always use the cardboard to lift the layers and to provide my project (at this time the layout) with dimensional and more interesting forms. Also I like to use a chipboard in my artworks. And this time I embossed them before putting on the layout.

In this project I mixed gel medium and color glow “tiger eye” than applied it through the stencil "Dance of gears" to add the textures and beautiful pattern to my layout. 


I’ve also recorded the video tutorial so I invite you to see the whole process of creating this layout :)


The complete list of the materials used for this layout: 


The Clock paper - Victoriana

COLOR GLOW Tiger Eye


I hope you find this layout interesting and inspiring :)