Showing posts with label shabby chic. Show all posts

Wednesday, 5 April 2017

What a surprise / Egg by Agnieszka Bellaidea


Hi!
I wonder if you are into decorating house for Easter already?
I am! Many, many years ago, before I discovered scrapobooking  I was teaching how to paint eggs.
This year I had my very first class at 13arts Studio where I held a class with big eggs.
Below you can see what I created using lovely products from 13arts.


Witam Was serdecznie!
Zastanawiam sie czy zaczeliscie juz dekorowac domy na Wielkanoc?
Ja juz zaczelam! Wiele, wiele lat temu, zanim "odrylam" scrapbooking  prowadzilam warsztaty z dekorowania duzych , strusich jaj.
W tym roku mialam juz okazje poprowadzic swoje pierwsze warsztaty w nowej siedzibie 13arts Studio z dekorowania jajek.
Powyzej / i nizej tez :) / mozecie zobaczyc moje przykladowe jajo.


Molds and modeling mass are really great products and you don't even need to add much more if you are opting for simple look. If course there is - almost - no limit what you can add, flowers, feathers, pins, pearls, feel free to explore my list of products by the end of this post. 

Foremki i masy sa naprawde wspanialymi produktami jesli wybierzecie prosty design nie musicie juz dodawac wiele innych produktow do swojego jajka. Oczywiscie nie ma - prawie - limitu co jeszcze mozna uzyc, kwiaty, szpileczki, perelki, piorka, z ciekawosci sprawdzcie liste na koncu tego postu aby zobaczyc niektore z produktow .


Here you can see some of my students eggs.

Oto kilka jajek moich studentow.


If you would like to make an egg like this please remember 
- be very careful when drying egg , it's very easy to burn it
- make sure you add  any heavy objetcs even to help  weight distribution
- don't let long parts dry to much before adding it to egg to prevent cracking


Jesli zdecydujecie sie na dekorowanie podobnego jajka pamietajcie o tym aby;
- bardzo ostroznie je suszyc , jajka szybko topia sie przy wiekszej temperaturze,
- wszelkie ciezsze dodatki powinny byc w mozliwie rozno rozlozone z kazdej strony jaja
- dluzsze elementy z masy nie powinny byc zbyt wyschniete przed przyklejeniem na jajko aby nie kroszyly sie czy nawet pekaly


13arts products:

Gesso - grunt akrylowy


Sunday, 25 September 2016

Natalya Trofimova - our new Guest Designer


Czas przedstawić kolejnego utalentowanego Gościa- Natalyę Trofimovą. Natalya przygotowała dla nas piękny layout! :) 

It's time to introduce our next talented Guest Designer- Natalya Trofimova. Natalya made a beautiful layout for us! :)

***

Natalya Trofimova


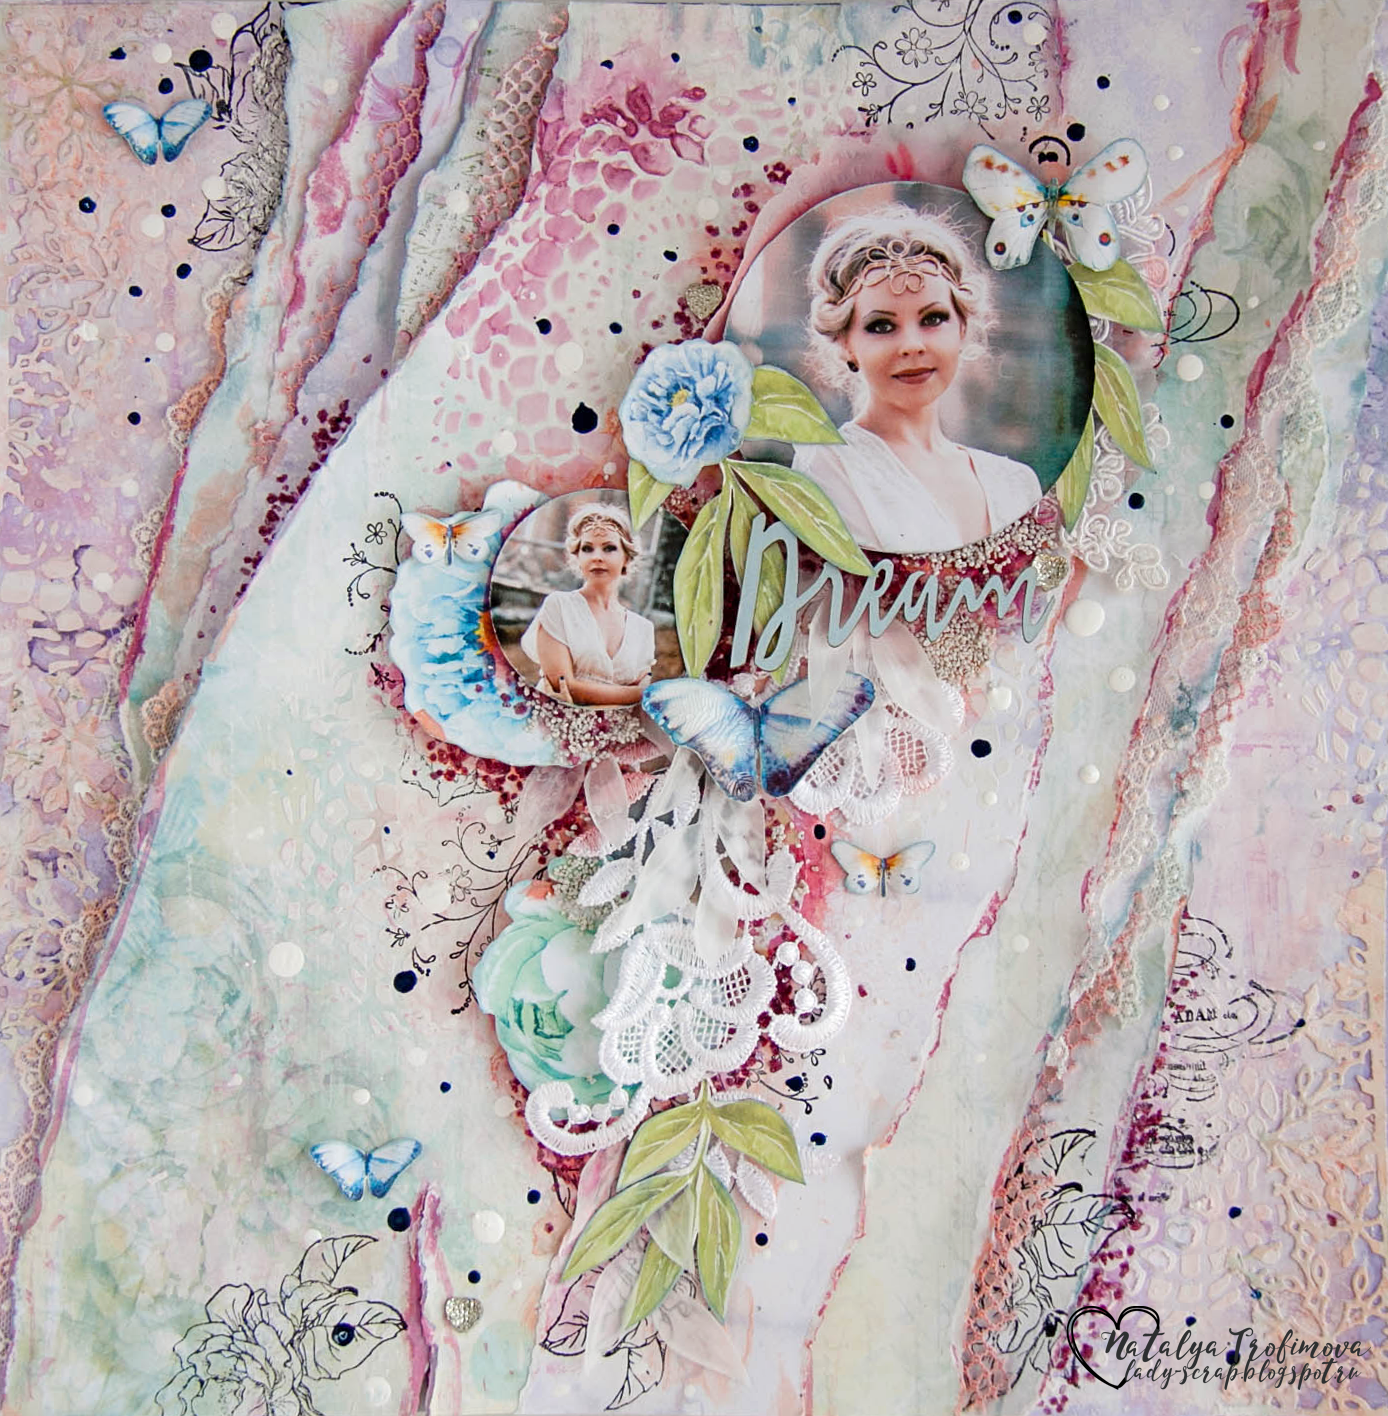
Hello, friends! My name is Natalya Trofimova, I live in Russia.I make of the scrapbooking about 3 years, working in a variety of styles, I like to experiment.


Shabby chic is my favorite style, and I'd like to show you the layout created in this style.


I used a lot of pieces of paper and lace to get a nice layered bulk


I gave shade and depth of the layers by sprays.


By using different toppings I created emphases in key areas of the composition. Doily's stencil made a layout gentle and airy.


Product List:

***

Dziękujemy Natalyo za ten piękny, magiczny projekt! :) 
Thank you Natalya for this beautiful, magical project! :)


Monday, 17 August 2015

Saturday, 8 November 2014

Dream with Jelissa

And the weekend is here!

How are you today friends?
I'm just so excited to share my latest project for 13arts with you, because it's packed with gorgeous products and what can I say, sometimes all it takes to kick-start that rusty mojo machine again is some amazing supplies.

Here's the layout I did. Nothing to it, just sat down, picked out my new favourite colours and teammie Olga Heldwin's new Color Basics collection from my DT pack and everything just happened!


I covered a piece of 12x12 chipboard with Ayeeda's acrylic primer, instead of heavy gesso which gives complete coverage as I wanted an uneven look for the background with little bits of the chipboard peeking through. This was followed by some tissue paper which I stamped and randomly adhered and sealed with Ayeeda gel medium. This was followed by random patting of acrylic primer again and I used my palette knife to create peaks to give a little extra texture. I found that this is something unique to 13arts' primer as it has a "foamy" texture, compared to other gesso I have used that are either too fluid or to pasty. Then it was out with the new colours I received - Matt Paints in Berry, Coral and Olga's Metallic Pink, Pastel Mists in Antique Cream and Caramel. 

Some closeups:


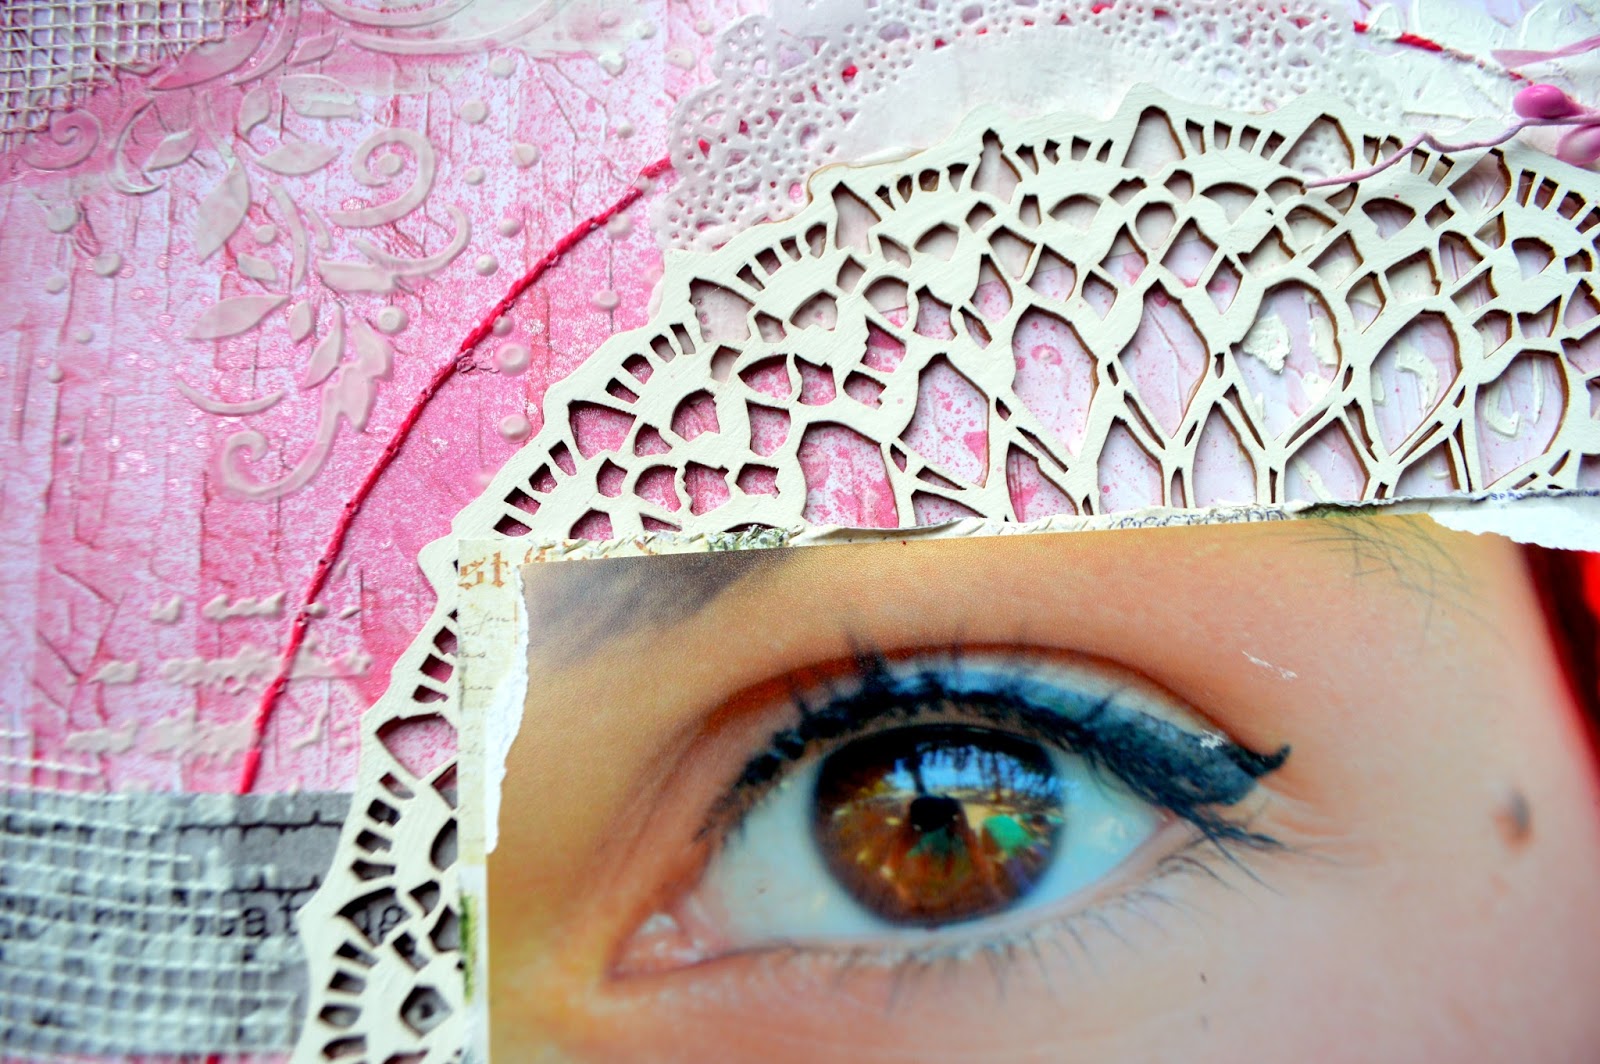
Just to show the various textures I have on the layout. I used one of the new stencils from Aida's Cozy Afternoon collection and layered with lots of random stamping. 


Papers from Color Basics as my layers and photo mat. Together with some flowers that I colored with Matte Berry and some stamens from the 13arts store. 


Love how versatile the Ayeeda paints are. Use them as-is for an opaque and intense look; water down to move them around like watercolors. Also seen here is the Splash Ink and Metallic Pink which I've mixed with Ayeeda liquid medium to give more full-bodied splatters.


Another view of the textures I've created. Love those pearl accents from the store!

13arts products used:

Acrylic ink SPLASH! Black

That's all I have to share with you today. Thank you for dropping by!

love,


Thursday, 2 October 2014

Agnieszka Bllaidea / DREAM


Hi!
Agnieszka Bellaidea again with my not so new pink project, I posted a pick last time.

Hej!
Dzis wita Was Agnieszka Bellaidea  z nie tak  nowym LO , ostatnio pokazalam Wam juz jego fragment,


I kept this chipboard for couple of months, I liked it so much it's time to show it off.
As you can see I used also several stencils, stickers, gesso, modeling paste and flowers.


Od kilku miesięcy trzymałam tekturki które bardzo mi się spodobały, w końcu czas je pokazać na nowym LO.
Jak widzicie uzylam tez gesso, pasty, masek i kwiatów.


Next time I will show you a project with several gold products. Thank you for visiting me here today, have a great day!

Nastepnym razem pokaze Wam albumik wykonany z kilkoma produktami w kolorze zlota, dziękuje za odwiedziny dzisiaj!

Agnieszka Bellaidea


Monday, 11 August 2014

Monotone Mixed Media Canvas by Jelissa

Hello friends!

Today I'm up on the 13@rts blog today with a mixed media canvas which I created for my favourite uncle's 50th birthday. He was an Apache assault helicopter instructor with the airforce before his retirement, so I used more masculine colours as well embellishments that reminds him of his flying days.


My background was created by layering scrap pieces from 13@rts' Timeless collection. There were some soft blues and greys which gave me a good tone to start with. I applied some 13@rts acrylic modelling paste over the Flying Shapes Stencil and coloured the background with Pearl Mist in Sky Blue and Chalk Mist in Ultramarine, with dabs of Ayeeda Paint in Matt Blue.

I also used a speech balloon from 13@rts and painted it to resemble the sky with Matt Blue Paint and 13@rts acrylic primer.

some closeups:


Adding extra texture with glass and silver microsphere beads, as well as some rub-ons and decorative twigs


Doing colour bleeding on a 13@rts paper flowers, the result is a beautiful ombre effect.


Splatters with slightly diluted gesso.

13@rts products used:


That's all I have for now, thank you for dropping by and leaving some love!
Until then, happy scrapping!