Showing posts with label Dt Christine. Show all posts

Wednesday, 12 February 2020

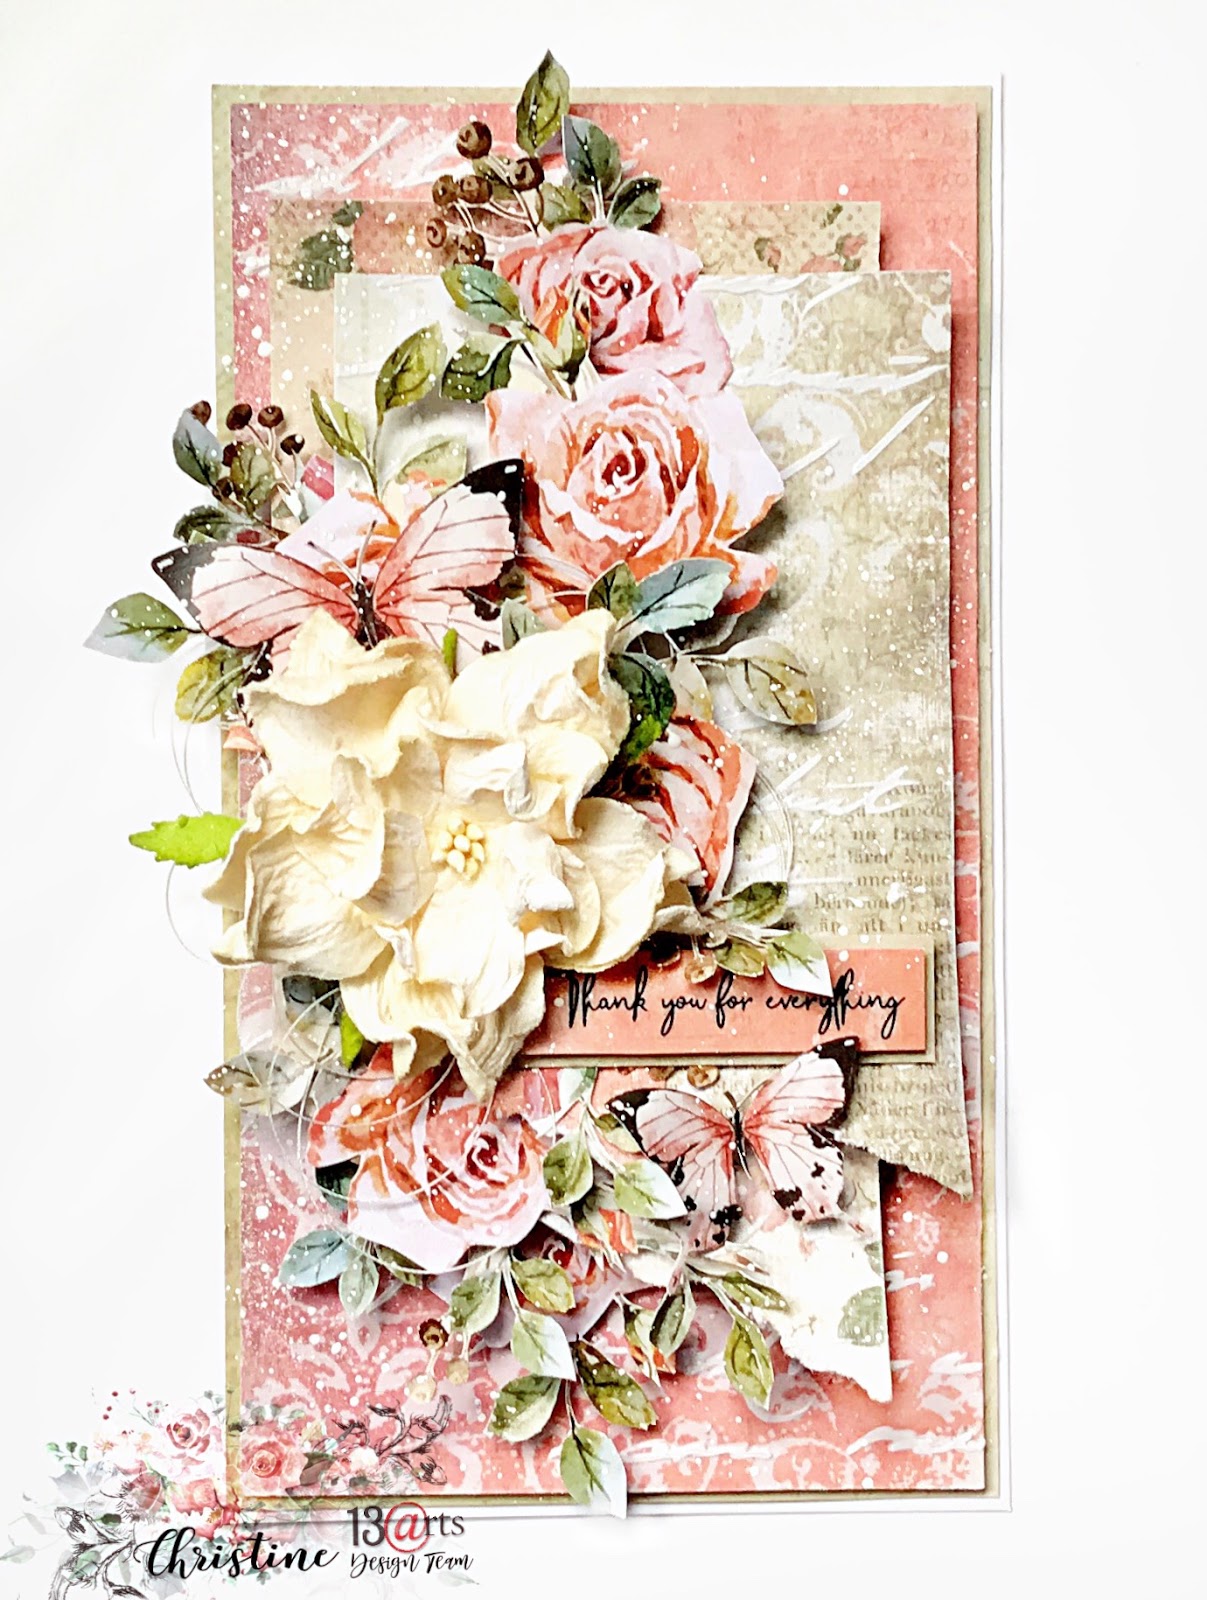
Card by Christine

Hi everyone! 
Today I show you my latest creation as a member of the desing team 
but I will continue to use these wonderful products, I love them !!!! 
and show you my creations on social media. 
Thank you very much Aida for these two beautiful years ❤️

I made a card, here it is 馃檪


Some close-ups


I Used:


I hope that I have been able to inspire you during these years.
Thank you for your visit!


Wednesday, 22 January 2020

"The sky is the limit" by Christine

Hi everyone!

Today I'm with you to show you my creation for the month of January. 
I decided to put yellow to put a little sun in this winter day, 
here in Quebec it is cold and there is a lot of snow.

So here is my canvas


I explain a little how I did it. I started by putting a layer of clear gesso on the canvas and the wooden tag. Then I put white crackle paste in a thick layer here and there on the canvas, I let it air dry. I made a pattern on the tag with a stencil and modeling paste.
Then I had fun with the colors, I used acrylic paints, Yellow Amber and Mermaid Teal, Metallic! paint Blue as well and Rainbow color Yellow Amber and Yellow Lemon.


I stamped here and there on the canvas with the Star aliance stamp and permanent black ink. I made lots of drops with a brush and an embossing liquid, then I powdered the gold embossing powder which I melted with the heat gun.


Last step of the composition, I used several elements from the superb collection Under the stars, a chipboard, stars from the ephemera pack, I cut with a die of leaves in a 6x6 paper from the collection, I also cut flowers in the A4 element sheet and 12 x12 paper Constellation. I added 2 beautiful white roses and gold metal wire and I glued everything.


I Used:


I hope you enjoyed it!
Thanks for your visit.


Wednesday, 4 December 2019

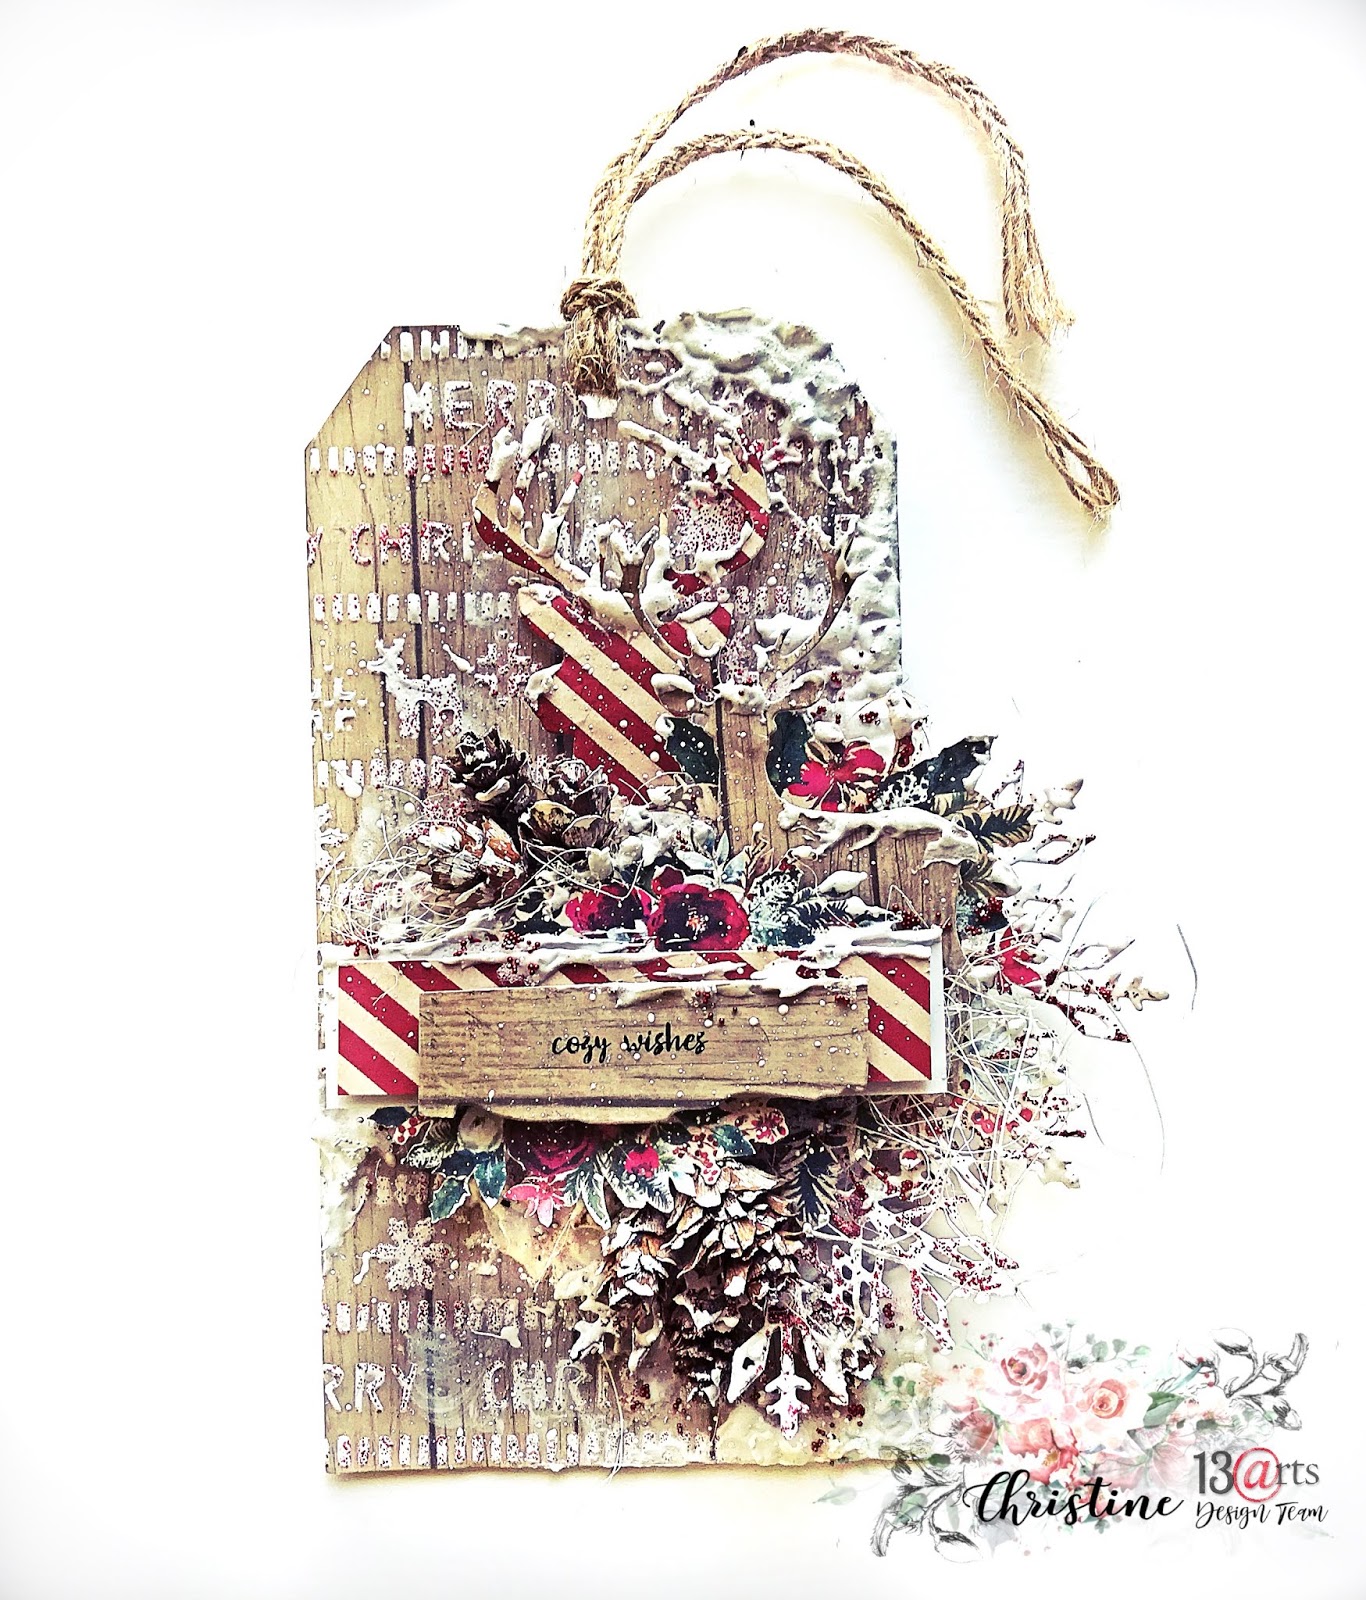
"Cozy Wishes" Christmas Tag By Christine


Hi everyone!
Today I am with you to show you my last creation for 
the year 2019. 
I made a Christmas tag.


I cut a form of tag in a paper from the Christmas Traditions collection, 
then I stick it on a thick cardboard.
With a brush I spread a layer of clear gesso all over the tag.
 I use modeling paste and a stencil to make the pattern on the background paper. 


I cut with deer shapes with dies in two papers from the same 
Christmas Traditions collection.
In the pad of papers there are pictures to cut, I cut some to make my composition.
In white cardboard I cut shapes of snowflakes, I spread a little bit of Splash! Crystal Bordeaux Glitter here and there.
I put fake snow in several places. I added a little sizal, some pine cones, glass microspheres
 red microspheres.
And finally I made drops with Splash! White.


Products used:


I hope you have a little inspiration to make your Christmas tag.
Happy Holidays time!


Wednesday, 9 October 2019

"Adventure Awaits" Layout by Christine

Hi everyone!!!!

Welcome to the 13 arts blog. Today I am with you to show you 
my first creation for the month of October, I made a layout with the beautiful 
collection Grungy walls, I love this collection !!!

Here is my layout


I explain a little how I made my page.
I started by putting a layer of clear gesso on the background paper. 
Then again on the background paper I stamped patterns with this permanent
 black ink and Distress Oxide Broken China. 
With watercolor I made spots of color here and there and a few drops of white. 
With one tool I scratched the paper in several places to make an aged effect.


I then glued a transparent foil of the same collection, on this sheet 
I put some watercolor and paint in places to soften a little black patterns.
 I mixed several colors of paint with modeling paste, Magic! Powder and 3D sand, 
I spread the mixture with a silicone brush on a stencil.


On two chipboards I used the Rust effect powder with the Reagent. 
On the chipboard title I put embossing powder.
And finally I did a few drops of Splash! Ink White here and there.


13 arts products used:


I hope you liked it.
Thank you for your visit!


Tuesday, 17 September 2019

"Moonlight" by Christine

Hi everyone!

It's my turn today to show you my creation. 
For this project I used an embroidery hoop
and the beautiful Under the Stars collection.

Here is my creation


I started by putting two coats of Paint Metallic! Blue then I wiped the Paint Metallic! Dark Yellow.
I cut a circle the same size as the embroidery hoop in a 6x6 pad paper from the Under the stars collection. On the background paper I put a layer of clear gesso, after that I mixed gel medium with Paint Metallic! Dark Yellow, with a silicone brush I spread the mixture on a stencil of the same collection on the background paper to make a pattern.


 I mixed a little Paint Metallic! Dark Yellow and Old Silver and I painted the star chipboards.
On the chipboard title, I put the same mixture that I used to make the pattern on the background paper. I cut flowers, a picture of crescent moon and I used the ephemeras all from the collection Under the stars.


I made a montage with all that. With gel medium I glued 3D Balls and black and gold microspheres. Then with a little watercolor I colored the 3D Balls. To finish I made a few drops with watercolor and Splash! ink white.


I Used:


I hope you liked it!
Thank you for your visit!!!


Friday, 30 August 2019

"Je t'aime" Layout By Christine

Hi everyone!!!

Today I am with you to show you my last creation of the month of August.
I used the wonderful Grungy Walls and Summer Rhapsody collections.

Here is my layout.


I started by putting a layer of transparent gesso on the entire surface of the background paper.
Then I used the new Ornamental stencil, I extended modeling paste with a silicone brush.
I have a watercolor effect with some paint colors, ink spray and water.
I cut out images in a paper from the Summer Rhapsody collection that I pasted on a thick cardboard to give dimension to my page and then I stuck them on my background paper.


I made a montage with lots of flowers, foliage, cutouts, molded shapes, a badge and chipboards.
To finish I made a lot of white drops with Splash! Ink.


I used:


Thank you for your visit!


Tuesday, 11 June 2019

"Imagine" Canvas -by Christine

Hi everyone!
Welcome to the blog.

Today I show you my first creation of June, I did a little canvas.
I took a step by step photos to show you how I did it.


Some close-ups


I started by putting a layer of white gesso all over the canvas to be able 
to work the background colors.


Then I spread the modeling paste on a stencil with a silicone brush, then I powder some white embossing powder that I heat with the heat gun.


I added some color on the background with watercolor.


I cut the flowers and the owl in the A4 papers of the Magnolia Blue collection.


I cut leaves in the transparent foil "Leaves"

On the chipboard I put a layer of white gesso and then I put the watercolor.
I stick the owl in the frame chipboard.


On the wings I put a layer of white gesso and black acrylic paint diluted with water.


With gel medium I glued 3D Balls, microspheres, glitter flakes ......


And to finish I put a little color with the foam here and the to give a little relief.


I used:


I hope you liked it.
Thank you for your visit!