Sunday, 22 December 2013

AUTHENTIC - layout by Stephanie Papin

Witajcie, dzisiaj zapraszam do obejrzenia cudownego scrapa Stephanie:)
>><<

Hi it's Stephanie again with my newest page for 13 arts.

AUTHENTIC


To start my page, I used different stencils to create my background. I used the Aida Paint _
Matte yellow with a touch of gesso to lighten the yellow colour. With a different stencil, I
used a different color, this time I mixed Aida paint matte Pink with gesso, also to
lighten my color. 


I research to reproduce colors that are on my photo ! Before my paint dries, I put on transparent micro-beads, the result is quite original, I think: it gives texture
to the page, but also shine.


I continued so for the rest of my page. Some stamps in black ink, some pieces of masking
tape (I also used some "All is Love" stickers, used as masking tape).


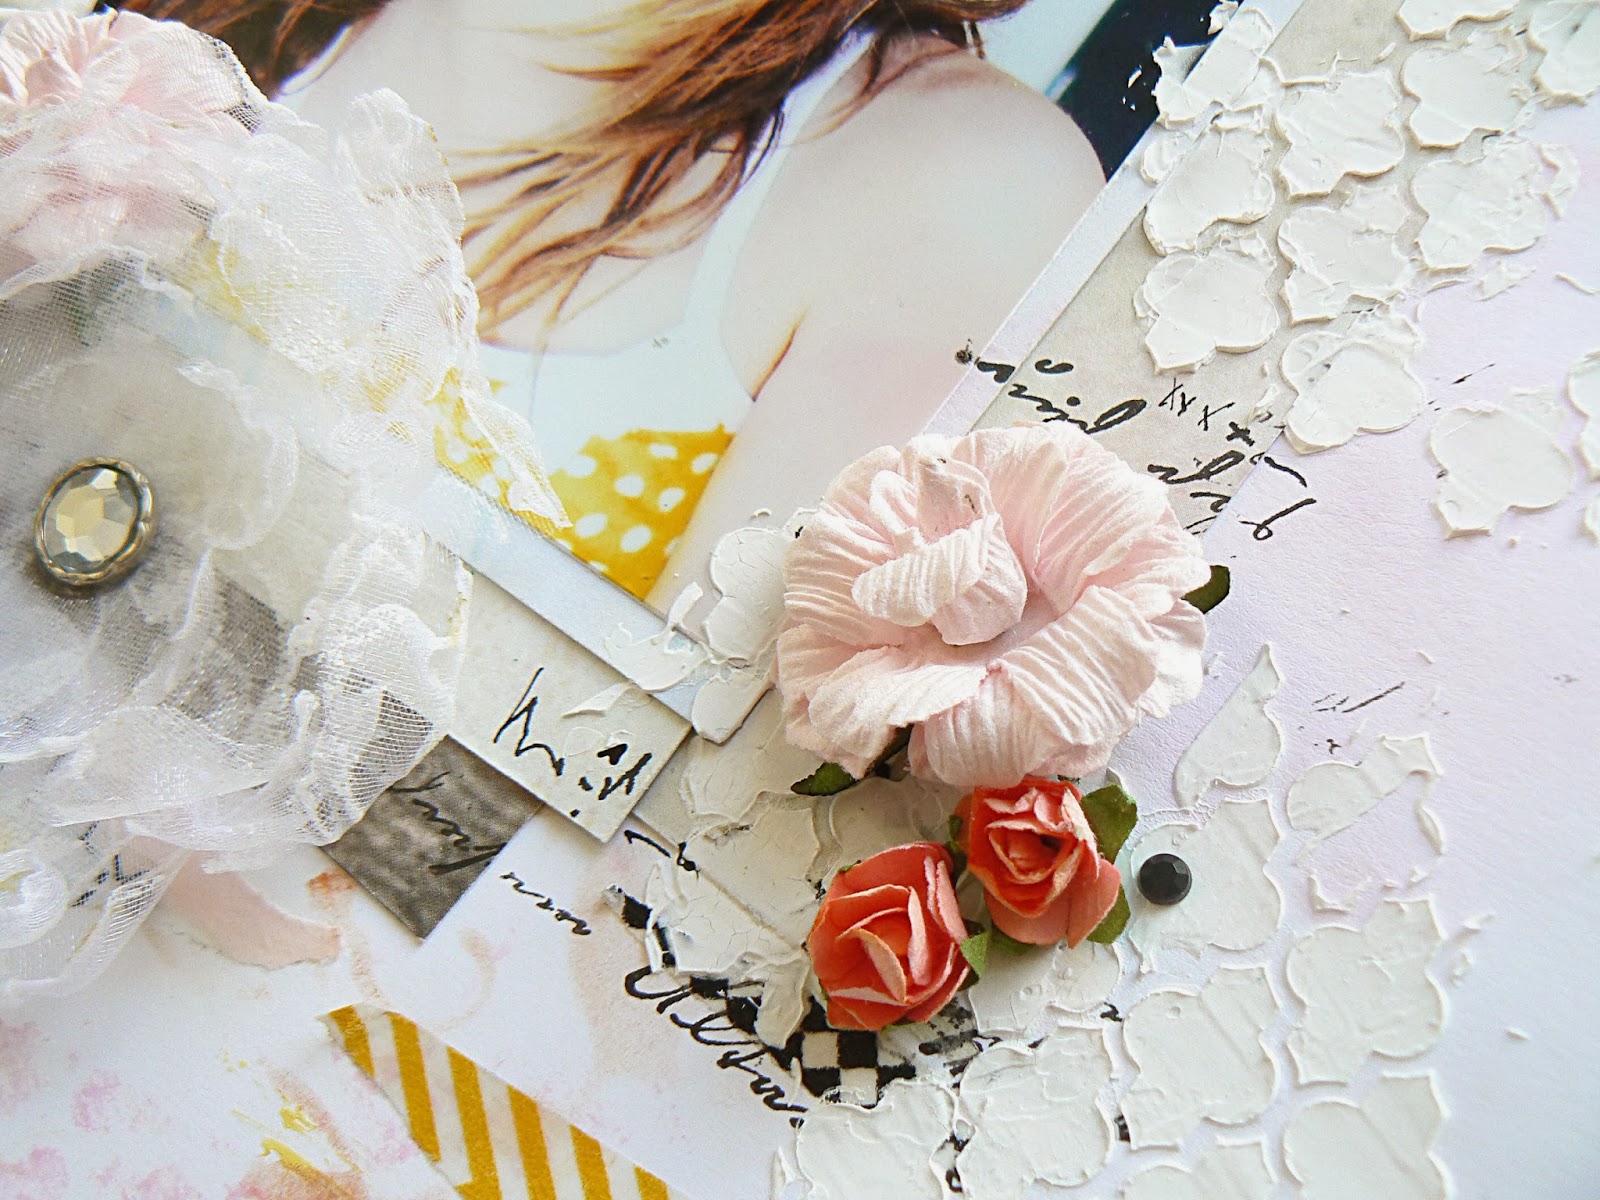
I really wanted to use the beautiful flowers (I used 13 arts handmade Fabric Flowers, some paper roses and twigs for 13 arts shop) I like to use flowers on my pages. I always try to create at least a bunch of flowers in order to create a kind of bouquet!


Once my page almost finished, I use modeling paste with a stencil and a knife painter, I created my design in 2 corners of my page that have not been worked. I wanted to work
two main angles of my page, the modeling paste is very soft, my two main angles are well
defined.

13 arts products I used:


Here's how I worked on this page! I hope you enjoy it !


Saturday, 21 December 2013

Colorful Winter

Hello dear friends!
It's Frau_Muller here with you today.
I  want to share with you my new Lo. It's about meeting grandmother and her grandson. They really love each other. Every meeting is full of kisses, hugs, a lot of fun and laughing.
So I decided to make my Lo colorful, bright and fun!


I like to play with different masks and modeling paste. Circles with words are amazing. They make this lo more real

Flowers make a Lo more softly and charming

Materials used:


http://13arts.pl/environment/cache/images/0_0_productGfx_e78a79c3bf022965e4805108f38f9403.jpghttp://13arts.pl/environment/cache/images/0_0_productGfx_397655d14be880d40ef9fd90173a0474.jpg  http://13arts.pl/environment/cache/images/0_0_productGfx_de2a30a0200a4493712e690a4f840800.jpg 


Remember the online shop is HERE and to check your stockists for your country go HERE


Thank you for visiting 13@rts blog, I hope you liked it!

Friday, 20 December 2013

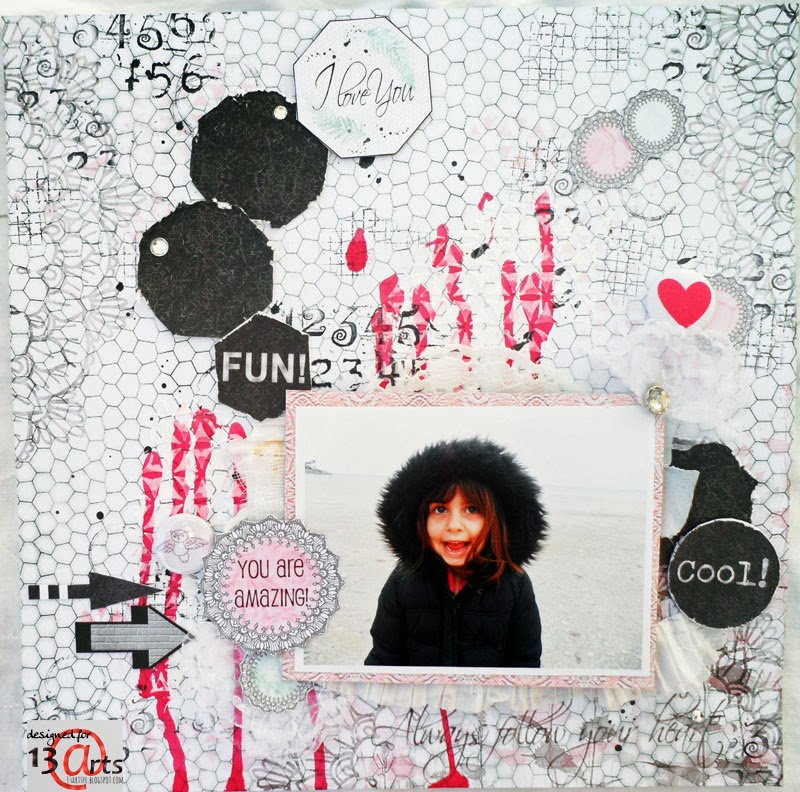
Cool!! by Vicky Varvadouka

Hello 13@rts friends!!

Today I will share with you a few basic steps to make a simple but cool layout. This layout is about my daughter Nefeli on a fun family day out!!

1.Apply Modeling paste using a favorite stencil and a spatula

2. Drop some Ayeeda ink and let it drip above the modeling paste

3.For more interest and color I added some distress ink using the same stencil

4. Stamping! It always fills empty spaces and gives a cool look!! I have also used a torn piece pf paper, gauze and white raffled paper to give texture and depth
it looks like this if you look closer....cool!!!

5. And lastly, I placed my photo and started decorating!!


Materials used:
Paper "Cold Wall" - "cold wall"
Papier "Found in the sky" - "Znalezione na niebie"Papier "Frosted Ferns - Mroźne paprocie"Papier "Stardust" - "Gwiezdny Pył"Papier "Love letters - Listy miłosne"Papier "Follow your heart - Za głosem serca"Modeling Paste 120mlWater ink - PinkFlowers of material - Fabric Flowers (1)
Thank you for visiting!
Happy Scrapping!!!

Thursday, 19 December 2013

November layout

Być może trudno w to uwierzyć, ale moim ulubionym miesiącem jest listopad - z jego melancholijną, deszczową atmosferą. Przygotowując ten layout, starałam się odtworzyć kolory mglistych jesiennych poranków. Połączyłam papiery z trzech różnych kolekcji 13@rts - All is love, Faces of spring i najnowszej, Timeless.
Maybe it's hard to imagine, but november - with all its melancholy - is my favourite month! I've made a layout which was meant to resemble the colours of misty autumn mornings. I've used papers from three different 13@rts collections - All is love, Faces of spring and the brand new one, Timeless.


Postawiłam na prostotę i zrezygnowałam z dużej ilości dodatków. Warstwową kompozycję podkreśliłam delikatnymi mediowymi akcentami:
I've decided o keep it simple - no embellishments, just paper layers and some mixed media accents:


Turkusowa farba i perłowa mgiełka złamały dominującą szarość:
I've used turquoise pain and mist to enlighten the layout:


Użyte materiały/Materials used:
Za głosem serca/Follow your heart
Wiatr we włosach/Hair in the wind
Wiosenny poranek/Spring morning
Perfect moment
Good times
Pasta strukturalna/Modelling paste
Mgiełka perłowa jasny turkus/Pearl turquoise light mist
Mgiełka kredowa szara/Chalk grey mist
Farba turkusowy mat/Matte turquoise paint
Tusz kreślarski czarny/Black drawing ink

Dziękuję za odwiedziny bloga, mam nadzieję, że podobała Wam się moja praca :)
Thank you for visiting 13@rts blog, I hope you liked it!

Dorotka


Wednesday, 18 December 2013

Perfectly happy - canvas from Ciri

Witam!
Dzisiaj jako inspirację przygotowałam dla Was pracę na blejtramie. Do zrobienia tła wykorzystałam farbki wodne, gesso oraz pastę modelującą.


Hello!

Today I made for you work on a canvas. I used water paints, gesso and modeling paste to make background.


W pracy wykorzystałam też moje ulubione materiałowe kwiaty, ciekawe efekty można uzyskać podgrzewając je nagrzewnicą, ale bądźcie ostrożni, bo kwiatek szybko się nagrzewa.

I used also my favorite fabric flowers, interesting effects can be achieved by heating them, but be careful with heat tool - flower heats up quickly.


Widzieliście, że w sklepie mamy też świetne tekturki? Są grube, więc można je do woli traktować przeróżnymi mediami bez obawy, że coś się porwie. Ja pokryłam tekturkę plaster miodu gesso, a następnie popsikałam mgiełkami, jeśli chcecie uzyskać takie zacieki jak ja, to potraktujcie jeszcze tekturkę wodą i od razu podsuszcie nagrzewnicą.

Have you seen that in the store we have a great chipboards? They are thick, so you will treat them to different media without the fear that something will destroy. I covered honeycomb chipboard with gesso, and then I used some mists. If you want to get the stains, sprayed chipboard with water and heat it.


Dziękuję za uwagę :)

Thank you for your attention :)

Used products:
Ayeeda paints matte - turquoise, peach, mahogany
microspheres - gold and glass


Tuesday, 17 December 2013

Peace on Earth...A Holiday Canvas by Mona Pendleton

Hi there and welcome to the 13arts blog! It's Mona here today with A Holiday Canvas to share featuring a variety of awesome 13arts products!
To create my project I first collaged the background using pretty black Cold Wall patterned paper from the Frosted Life Collection. Once dry, I added lots of texture using a variety of 13arts mediums. The fun 3D little balls are Glass Microspheres D2 that I adhered with Gel Medium. I randomly applied the following 13arts acrylic paints: Matte Mahogany, Matte Blue and Matte Pink. For more texture and design, I applied Ayeeda Gesso and then sprinkled with shiny Glitter gold - bars:
 For a burst of gold and LOTS of texture, I covered her chipboard wings with Gold Microspheres using Gel Medium.
 For a little extra girly touch, I adhered a paper rose to her halo then sprinkled it with Glitter gold - bars:
 The angel's face and body was made using beautiful patterned paper from the Faces of Spring Collection and her dress was made using pretty patterned papers from the Frosted Life Collection.
Thanks so much for visiting. I hope you enjoyed my project!
13arts Products Used:
13arts Ayeeda Acrylic Gesso Primer
13arts Ayeeda Medium Acrylic Gel Medium
13arts Ayeeda Faces of Spring Collection
13arts Ayeeda Frosted Life Collection


Monday, 16 December 2013

Little vintage book (and a smaaaaaaall tutorial)

Sometimes I want to make absolutely useless thing that can not give anything other than aesthetic pleasure. Not an album for the sweet memories, not a notebook for recipes or diary, not a postcard with greetings ... But just a bagatelle for the joy. These things from the category that you can put on the very top shelf in the bookcase and forget about it for a year or even two.

A year or two later came to the bookcase and find it by accident. Find, wonder it (because you already do not remember about its existence!). And then examine it for a long time, sitting on a sofa and being wrapped in a warm blanket ... because of snowstorm, because of the moon, because of winter, because you have two hours ago go to bed ... and because of this thing so warm and sincere ...

I want to show you a little book made ​​just for fun. Words written in it, cheer up and make everyone smile even when he is sad or lonely (well, at least me).
I photographed the stages of its creation. I think you might be interested to walk with me for all levels of its appearance!

I want to show you in this project two tricks - 1. the folding paper to create a mini-book and 2. the creating of your own stencil.

Indeed, the entire little book is comprised of a single sheet of paper (pages are made from one side of the sheet, the cover is made of the other one). 


For this project I made ​​such ridiculous stencils:


Well, I started with creating the background:


Then I took these materials (and some stamps!):


... .. and after a while my future pages looked like this:


This method of folding pages is good because then these pages can be deployed in a large rectangle. But this time I decided to glue the pages after inserting between them some sheets of the old books.


I made the cover of two rectangular pieces of cardboard that I wrapped with the remnants of the same sheet of scrap-paper (only the reverse side).


Do you interested to see what's inside?

Well, so be it)))

Beware, then I will show pictures of each pages!


Thank you for your attention ... and I hope that today I was able to show you something interesting and useful!

Is that so?

I used: