Hi 13 Arts fans!!! I hope you all enjoyed your weekend and are having a great start to the week!!! Today I would like to share with you I made for my Mom's birthday. It's a lot simpler than anything I normally make, and a little out of my comfort zone, but I love how it turned out!! I have also put together a little tutorial for you!!
'You Are Loved'
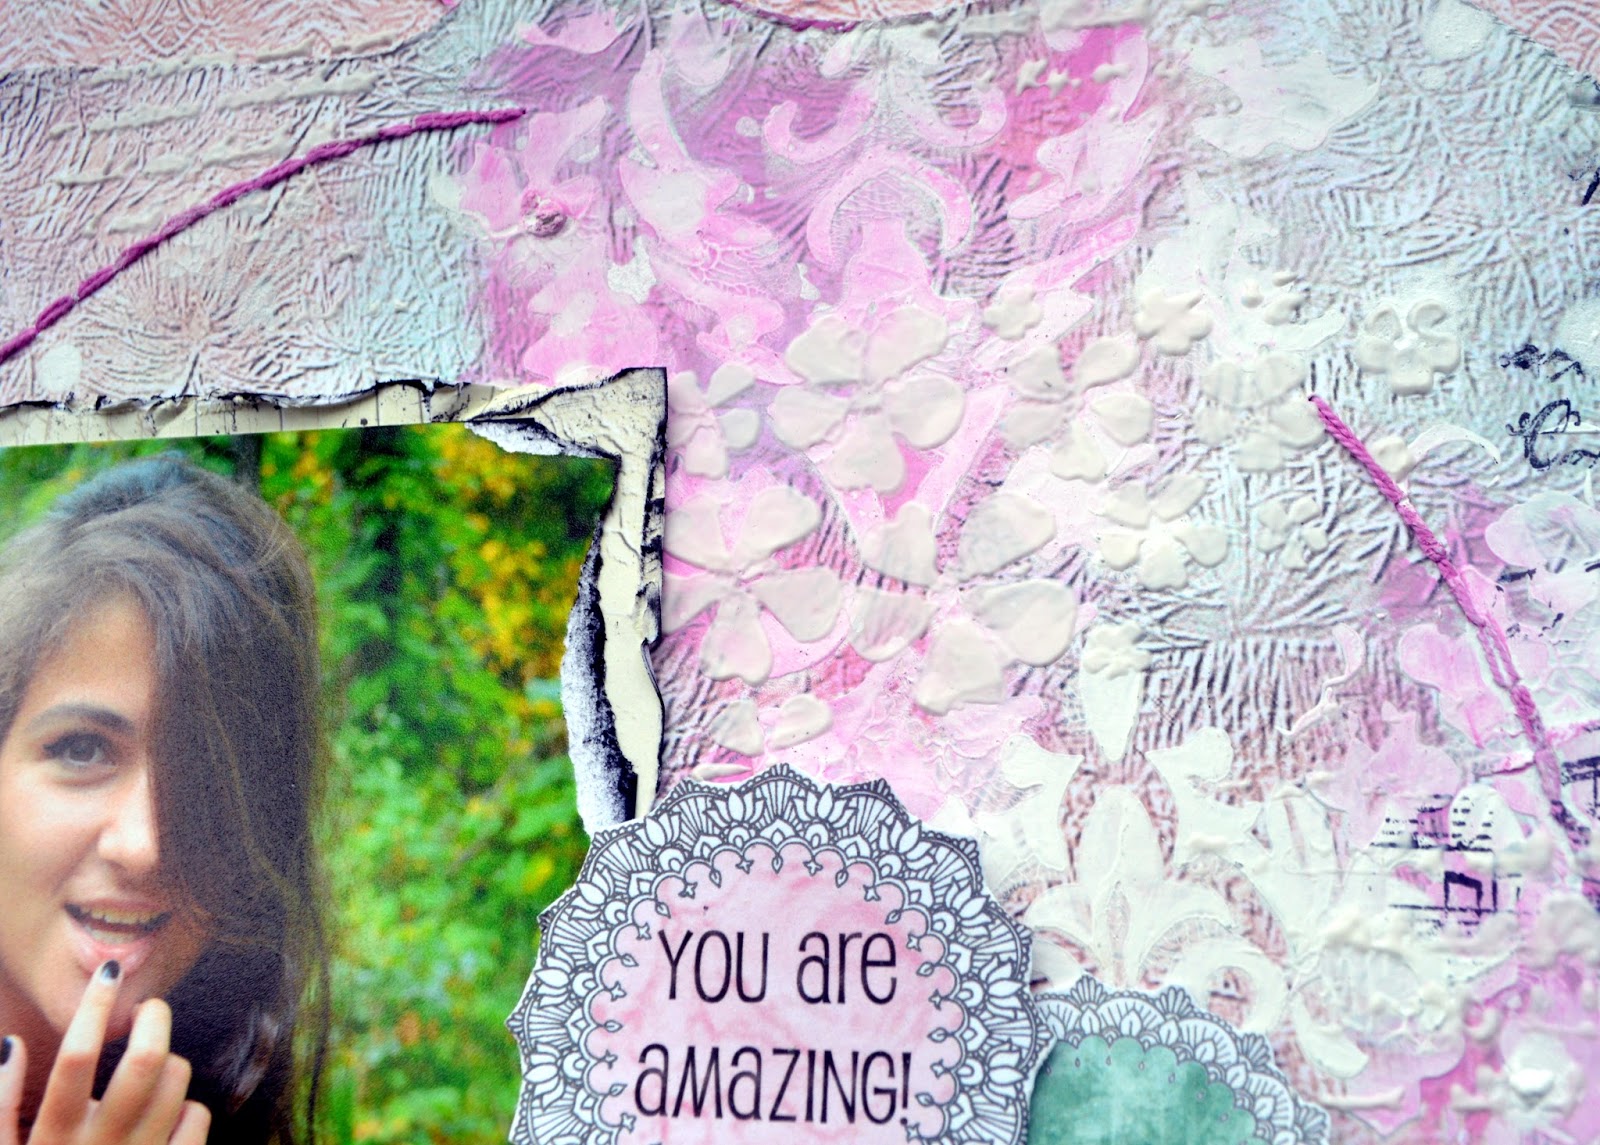
A few close-ups:
Here is the Tutorial for you:
Step 1: Cut a square from a piece of 13 Arts paper to fit the front of your card. I have chosen to use 'Daydreamer' from The Fly Away Collection. Spread gesso over your page quite thickly using a palette knife, and fiddle with it to get some interesting texture. Let it dry.
Step
2: Select a combination of your favorite 13 Arts Mists and Water-based
Inks in coordinating colors. Start roughly off center, dip a small
paintbrush into one of the colors and paint a circle onto your
background. Then choose another color and paint a second circle.
Continue this, swapping colors until you are happy.
You
don't need much color for each circle, in fact each one should be
almost dry, though not completely before you start the next circle. If
it is too wet your colors just go muddy. The few slightly wet spots will react and blend with the new layer creating a gorgeous watercolor effect.
Step 3: Add some splatters of color over your painted circles then tilt the page slightly letting the colors run a little, then leave to dry naturally, using a heat gun can cause the colors to mix completely with each other, taking away that beautiful mottled effect.
Step 4:
Once your background is completely dry add a little stamping, then frame
your painted area with a circle of twine. Add some sparkly thread and
Washi Tape.
Step 5: Use your finger to paint a chipboard frame with gesso, then glue it, along with some flowers to your background , also add some gems randomly around the page. Next cut 2 small banners
using the same paper from the background, and a black piece from the
Color Basic Collection. Glue them together on an angle, and add some word stickers for your title. Attach it firmly above the flower.
Step 6: Paint around some of the flowers with the Bordeaux Water-based Ink to create a slight shadow, then paint the part of the chipboard frame with the Chalk Woodbine Mist and lightly brush it along the bottom of the title. Add more flickers and drops of both over the embellishments and background.
Step
7: Finish of by distressing the edges of your 13 Arts paper, then spray
a tiny bit of mist onto a baby wipe or wet paper towel, and use it to
wipe around the edges of the card.
Now all you need to do is attach it firmly to the front of your card, write in it, and it is ready to go!!!
I wish you a wonderful week of creating, and thank you for dropping by!!!
13 Arts products used:
Ayeeda Water-based Ink - Pink


.jpg)
.jpg)
.jpg)


.jpg)


